Heat Exchanger Wizard
Heat Exchanger Wizard
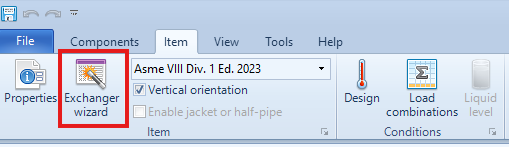
When designing or checking a heat exchanger, you can take advantage of a powerful tool available in NextGen software, aimed at quickly introducing the heat exchanger components. This tool is the "Heat Exchanger Wizard" and it is automatically started by the program whenever a new exchanger is created. The Heat Exchanger Wizard can also be opened at any time, by clicking on its icon:
The main data of the exchanger, as diameters of the shell and channel, materials, lengths, etc. have to be input in the wizard. Please note that the data prompted by the wizard change according to the selected TEMA type and tubesheet configuration. After the data have been entered, the software proceeds to create all main exchanger components. The user will then be able to add or modify every single component, as he does for the vessels.
Proprietà dello scambiatore di calore
The first step for defining the exchanger configuration is to select its TEMA type. Please note that TEMA designation is only used in the wizard in order to identify the configuration, e.g. BEU, AES, etc.
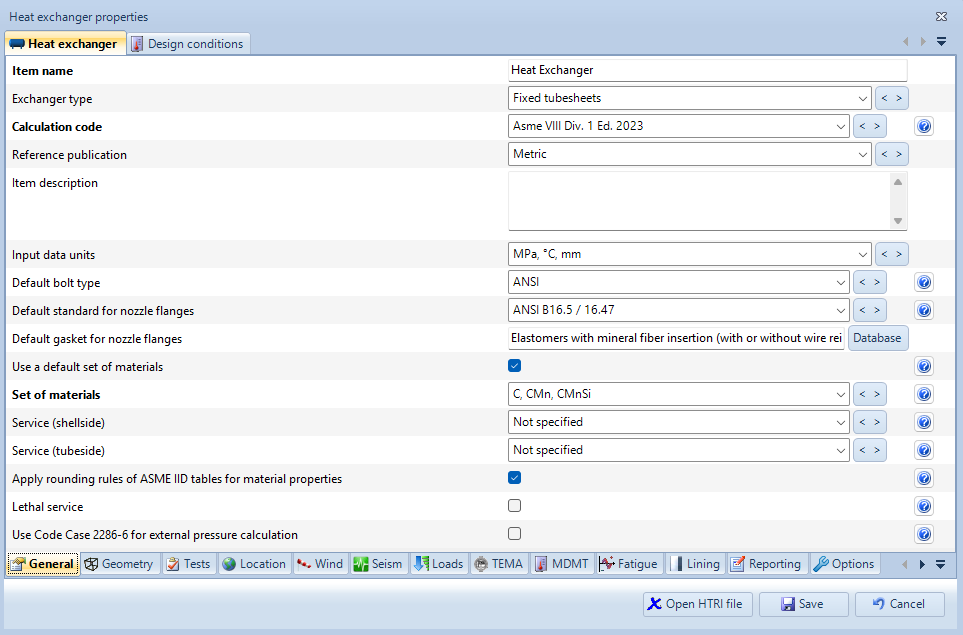
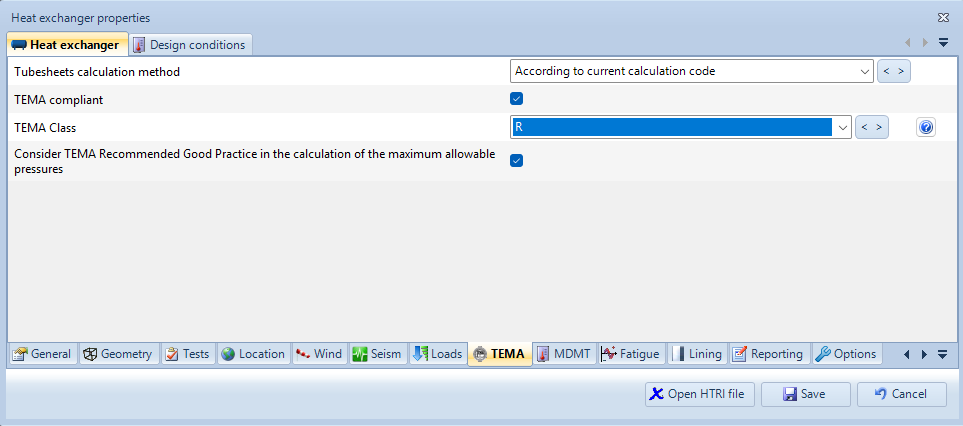
If the user wants the exchanger to meet the requirements of a specific TEMA class (R, C or B), he has to open the item properties and select the relevant category in the TEMA section:
User interface

The required properties are divided in 3 sections by the wizard (upper part of the screen):
- Front End
- Shell and Tubesheets
- Rear End
Each group is furtherly divided in categories, as it happens when entering the properties of single components. For instance in the above picture the properties of the Front End are divided in Geometry, Materials and Gasket (lower part of the screen).
The user can select if he intends to carry out either a Checking or a Design of the heat exchanger (in the lower part of the screen, under the picture). In the first case the exchanger has already been designed, i.e. the user already knows shell and tubesheet thicknesses and only has to check if they are sufficient according to the reference code by entering them in the wizard. In the latter case the user doesn't know the thicknesses and wants them to be defined by the software. When Design is selected, the thicknesses of ends, shell and tubesheets are no longer prompted by the software.
Loading and saving data
The data entered in the wizard can be saved, so that they can be used again at a later time; to do this the user has to click on the saving and loading buttons:

It is also possible to import heat exchanger data from a project created with HTRI Xist© software version 7 or later. Please note that in order to load a project from Xist it is necessary that Xist is installed on the same computer and that a valid HTRI license is available.
Entering the heat exchanger data
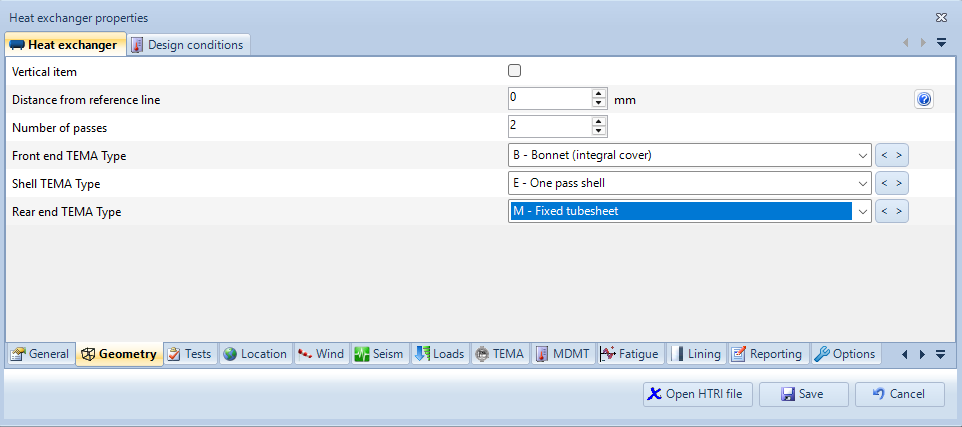
Start by defining the TEMA configuration in the properties of each component (front end, shell e rear end), then select tubesheet configuration (integral or flanged tubesheets). Please note that possible configurations change in the wizard depending on the selected TEMA type. For instance for a BEM exchanger:


Proceed by entering all the data for the heat exchanger, such as materials, gaskets, tube bundle properties, etc.
Once all data has been entered, you can proceed with the creation of the components. By clicking the OK button, the software will begin inserting the components according to the selected configuration. Note that even in Checking mode, all flanges are automatically designed to avoid requiring excessive data input in the wizard. Once the creation process is complete, each individual component can be modified separately.
When selecting Design mode, the software will also calculate the thickness of the shells and tube sheets, adhering to any minimum requirements imposed by the selected TEMA class.
If the wizard has already been run, it is possible to relaunch it to recreate a new heat exchanger from scratch. This can be useful if, for example, the design conditions or the configuration of the tube sheets change. In this case, the software will save the components created during the initial wizard execution, such as nozzles or supports, and attempt to link them to the components created during the new execution. In this situation, the following message will appear:

Note that not all details entered into the components generated during the first execution of the wizard can be automatically replicated in the new components. For example, data related to tube-to-sheet joints or other information not initially required by the wizard will need to be re-entered at the end of the new execution.
At the end of the execution in Design mode, a summary screen will appear showing the thicknesses used and a colored flag indicating whether the software successfully determined a minimum thickness for each component. It is possible that, under certain conditions, a solution cannot be found without making detailed adjustments to the component. In Checking mode, the software will instead use the thicknesses provided by the user.

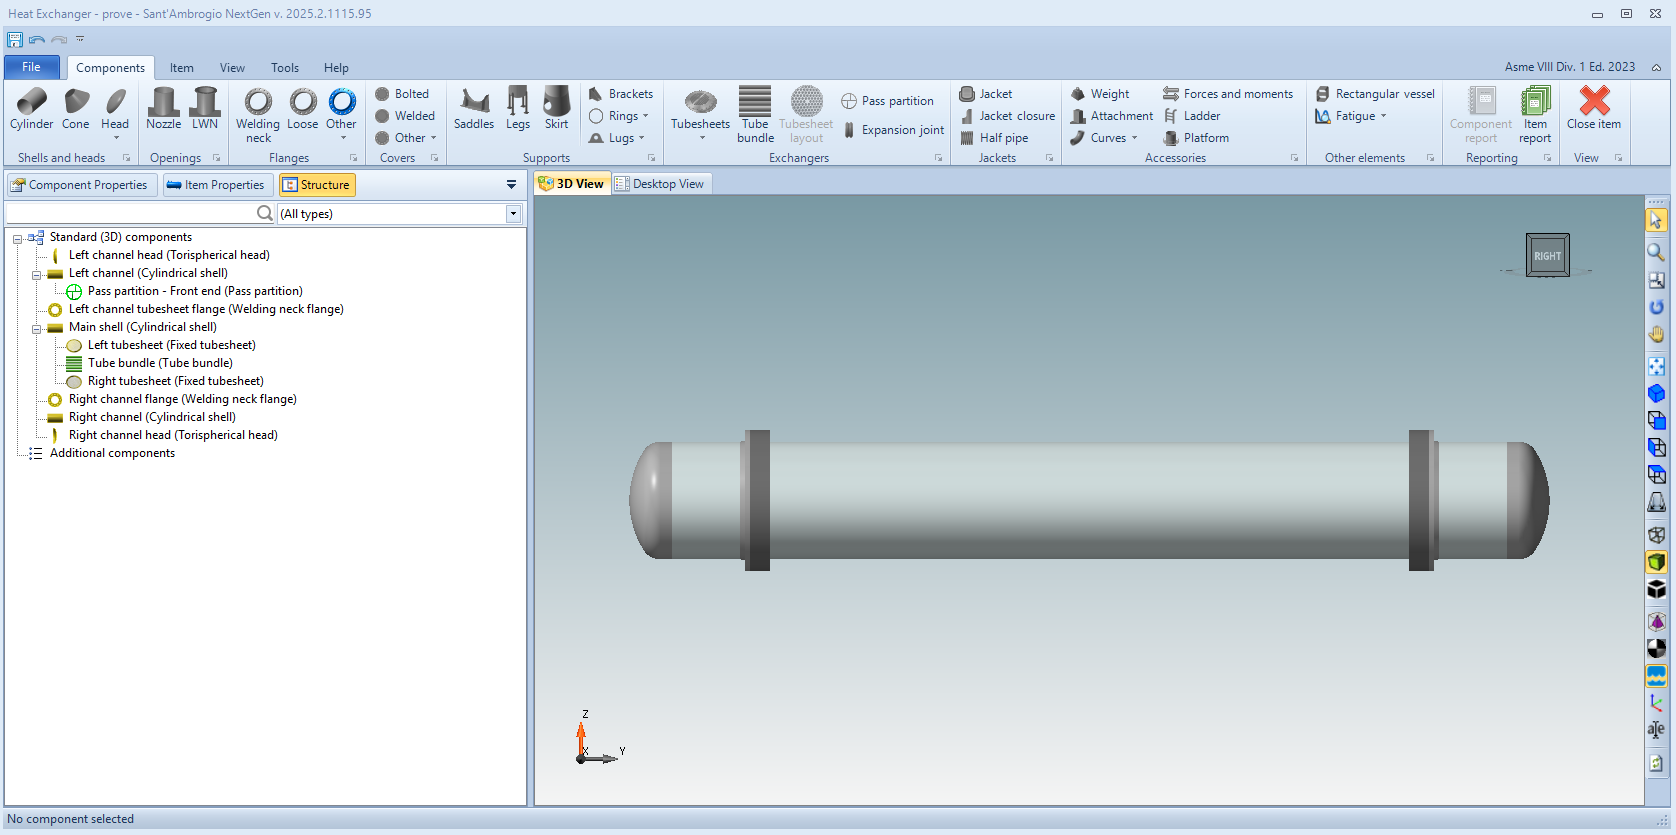
All the created components will be automatically inserted and displayed in the program's 3D window. You can now proceed to customize the exchanger and add openings or supports in the same way they are typically added for vessels.