Set liquid level
Set liquid level
NextGen allows you to define the liquid level inside an item, whether it is a vessel or a heat exchanger.
The first step is to select the component in which the liquid will reach its maximum level.
Typically, there are two scenarios:
- the item is completely filled
- the liquid reaches only a specific height within the item
SCENARIO 1
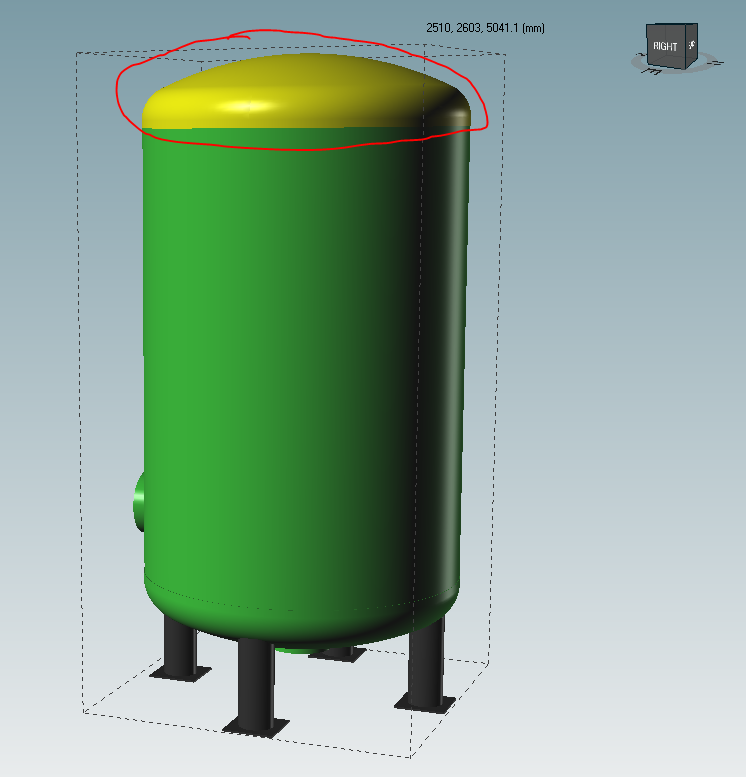
In the first case, select the main component (e.g. a cylinder or a head, but not a nozzle) that is positioned at the top of the item. It is usually easy to identify, especially when designing a vertical column, both in the graphical view and by checking the reference line.
[ ]
]
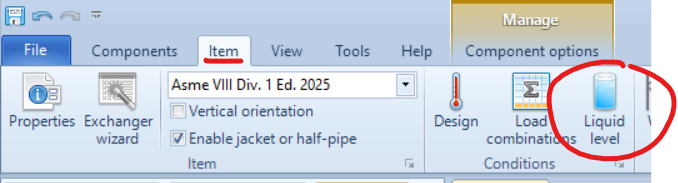
Click the corresponding toolbar button:
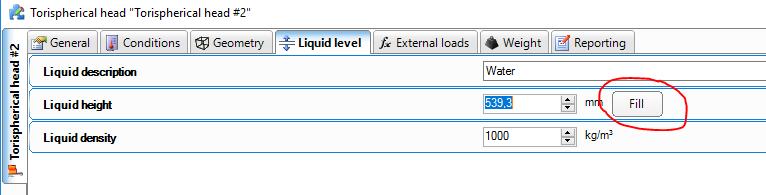
The component properties window will open with a new tab named Liquid level:
[ ]
]
This tab includes three additional fields:
- liquid description: purely descriptive, does not affect calculations but is printed in the final report
- liquid height
- liquid density (default is water value)
The last two properties affect the weight and pressure calculations inside the item.
Next to liquid height there is a Fill button, which automatically fills the selected component to its maximum capacity with the chosen liquid.
[ ]
]
SCENARIO 2
In the second scenario, select the component in which the liquid is expected to reach its maximum height.
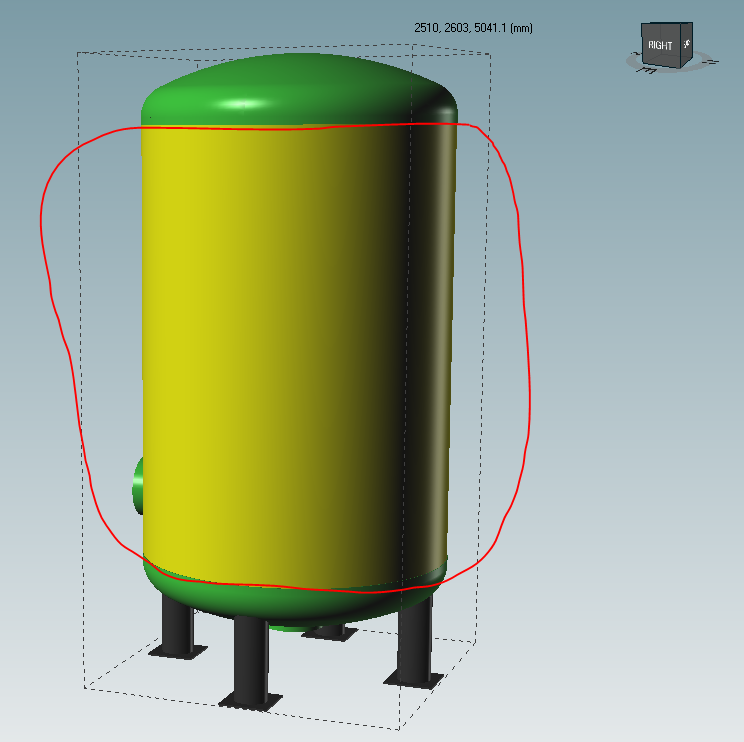
For example, in the vertical column shown below, water fills only half of the main shell:
[ ]
]
Select the shell and click on the Liquid level button.
The same tab will appear, but this time you should not press Fill: instead, manually enter the desired height.
If the cylinder is 3500 mm high and needs to be filled halfway, set Liquid height = 1750 mm.
[ ]
]
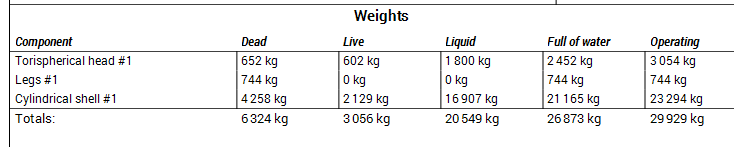
The program will automatically calculate the weight and height and include them in the output report.
Note: the liquid height value is always measured from the bottom of the selected component. If you need to specify the overall height from the base of the entire item (except in the case of a completely filled item), you must calculate it manually by considering the height of the components below.
Example: the liquid must reach 2000 mm in total. The bottom cylinder is 500 mm high, and the upper cylinder is 3000 mm. Therefore, the liquid height to be set is 1500 mm.
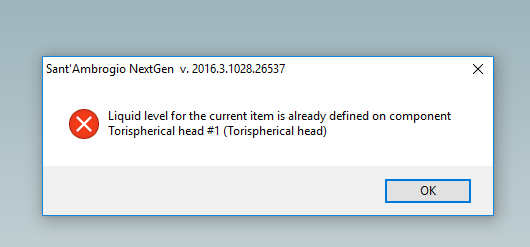
Once the liquid level has been defined on a component, it cannot be defined again on another one, because the liquid level represents the maximum filling quota of the whole item and automatically affects all other components. Attempting to set it again will display an error message.
[ ]
]
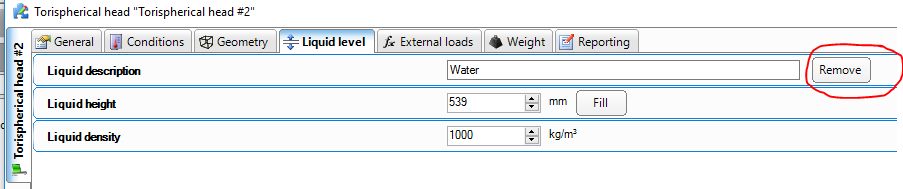
To redefine it, first remove the existing liquid settings by pressing the Remove button:
[ ]
]
You can then set the liquid level again.
Search the documentation
Customer area
Categories
Articles in this category
- How to create a reinforced ring opening (studding outlet flange)
- How to create a jacketed vessel
- How to use a National Annex in EN1991-1-4
- Forming Strains in ASME
- Set liquid level
- Limits on thickness for tubes and cylindrical shells in the VSR standard
- Thread calculation according to EN14359 Clause 5.5.6
- Cladding and weld overlay management
- How to design a stiffening ring against external pressure using NextGen
- Standard flanges and flanges according to calculation code
- Common mistakes when searching EN 1092-1 flange ratings
- Definition of standard tees in EN 13480
- How to design a gas cylinder with NextGen